What is the Summary option and why should I use it?
If you use the built-in blog feature in Barista, you've probably noticed that you have two options of how to show your posts on the blog page. One is to show the full post and the second is to show a teaser of each post. Showing a teaser of each post is a great option, because it eliminates a lot of scrolling and your readers are likely to stay on your blog longer if they can quickly see your posts.
However, if you choose to use the teaser option, you'll find it doesn't appear as clean. Different image sizes, font sizes, and font styles for each post can make your blog hard to read. This is where using the Summary option comes in handy!
The Summary field allows you to write a short sentence or two summarizing what your post is about. When you use the Summary option, the blog page will show your short summary instead of a teaser, and your blog page will look much cleaner.
Where can I find the Summary option?
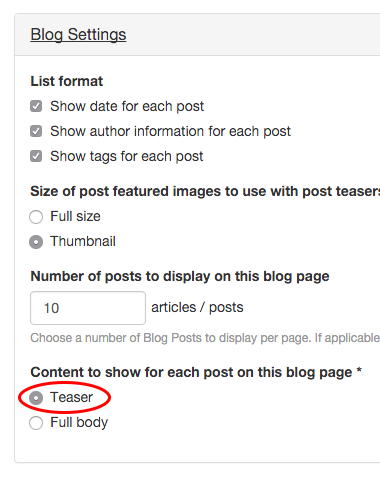
Each time you write a post, you have the option to use the Summary field. You can also go back to older posts and add a Summary. For the Summary option to work, you must set your blog to show "Teaser" under the Blog Settings menu in edit mode.

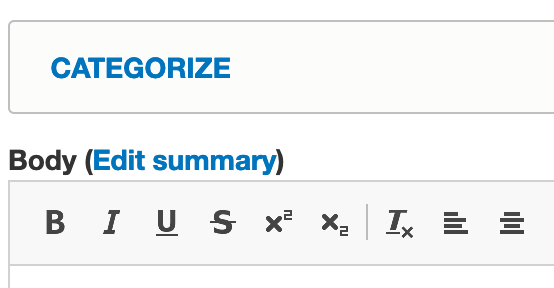
In edit mode for a post, scroll down just a bit until you see the Body area with the text editor. You should see Body (Edit summary). Select the "Edit summary" link.

A new Summary box with a text editor will show above the Body box. This is where you will type your summary text. I usually write my post first, then go back to this area and summarize it. You can select "Hide summary" if you want to close this box. Hiding the summary will not remove the text you typed.
Once you've created your summaries for each post, you'll see your blog page appears much cleaner and shorter. This WAG blog is an example of a blog that uses the Summary option for each post.